Renovating? How to photograph pipes, wiring and waterproofing before the walls are closed, so you can find them later
Updated · 4 min read
Photograph every open wall, ceiling and floor after the plumbing and electrics are roughed in and before insulation, plaster, drywall or tiles cover them. Later, when you want to hang a shelf, drill, trace a leak or answer a question from an inspector or a new contractor, those dated photos show where the pipes and cables run. Keep them in one album, named by room.
Photos show what was visible on the day; they do not show that the work is sound, up to code or correctly pressure-tested. Your contract, local building rules and a qualified inspector decide that. This is general advice, not legal or technical advice.
When is the right moment to take the photos?
After the pipes, cables, ducts and waterproofing are in place, and before anything covers them. Ask your contractor to tell you the day before the wall is closed, and agree in writing that nothing is covered until you have photographed it and any required inspection is done. Where an inspection is required, it usually has to happen before the wall is closed, so check the rules where you live.
What should I photograph?
- Each wall, ceiling and floor area as a wide shot, taken square-on so the whole run is visible, one room at a time.
- Close-ups of joints, valves, junction boxes, sockets and any place where a pipe or cable turns or crosses another.
- Waterproofing in bathrooms, balconies and wet areas, before the tiles go on, including corners and the edge near the door.
- Anything that looks wrong, such as a cable too close to a pipe, an unsupported pipe or a missing box, with a wide shot and a close-up. Raise it with the contractor in writing before the wall is closed.
How do I make the photos easy to use later?
Put something of known size in the frame, such as a tape measure along the wall, so distances can be read from the photo. Include a fixed landmark such as a window, a door frame or a corner in the wide shots, and write the room and wall on a piece of paper or in the stamp text. One extra photo of the wall from the doorway helps you recognise it later.
Name the album by room, for example "Bathroom – north wall, before tiling", and keep a short note of the date and what each photo shows. Short video panning along a wall also works, but stills are easier to search.
Should I photograph the finished wall too?
Yes. A shot of the closed, finished wall from the same spot, with a measurement to a fixed point, lets you match the open-wall photo to where you are standing. If you add sockets, shelves or fittings later, you can see what is behind each spot before you drill.
How do I show when my photos were made?
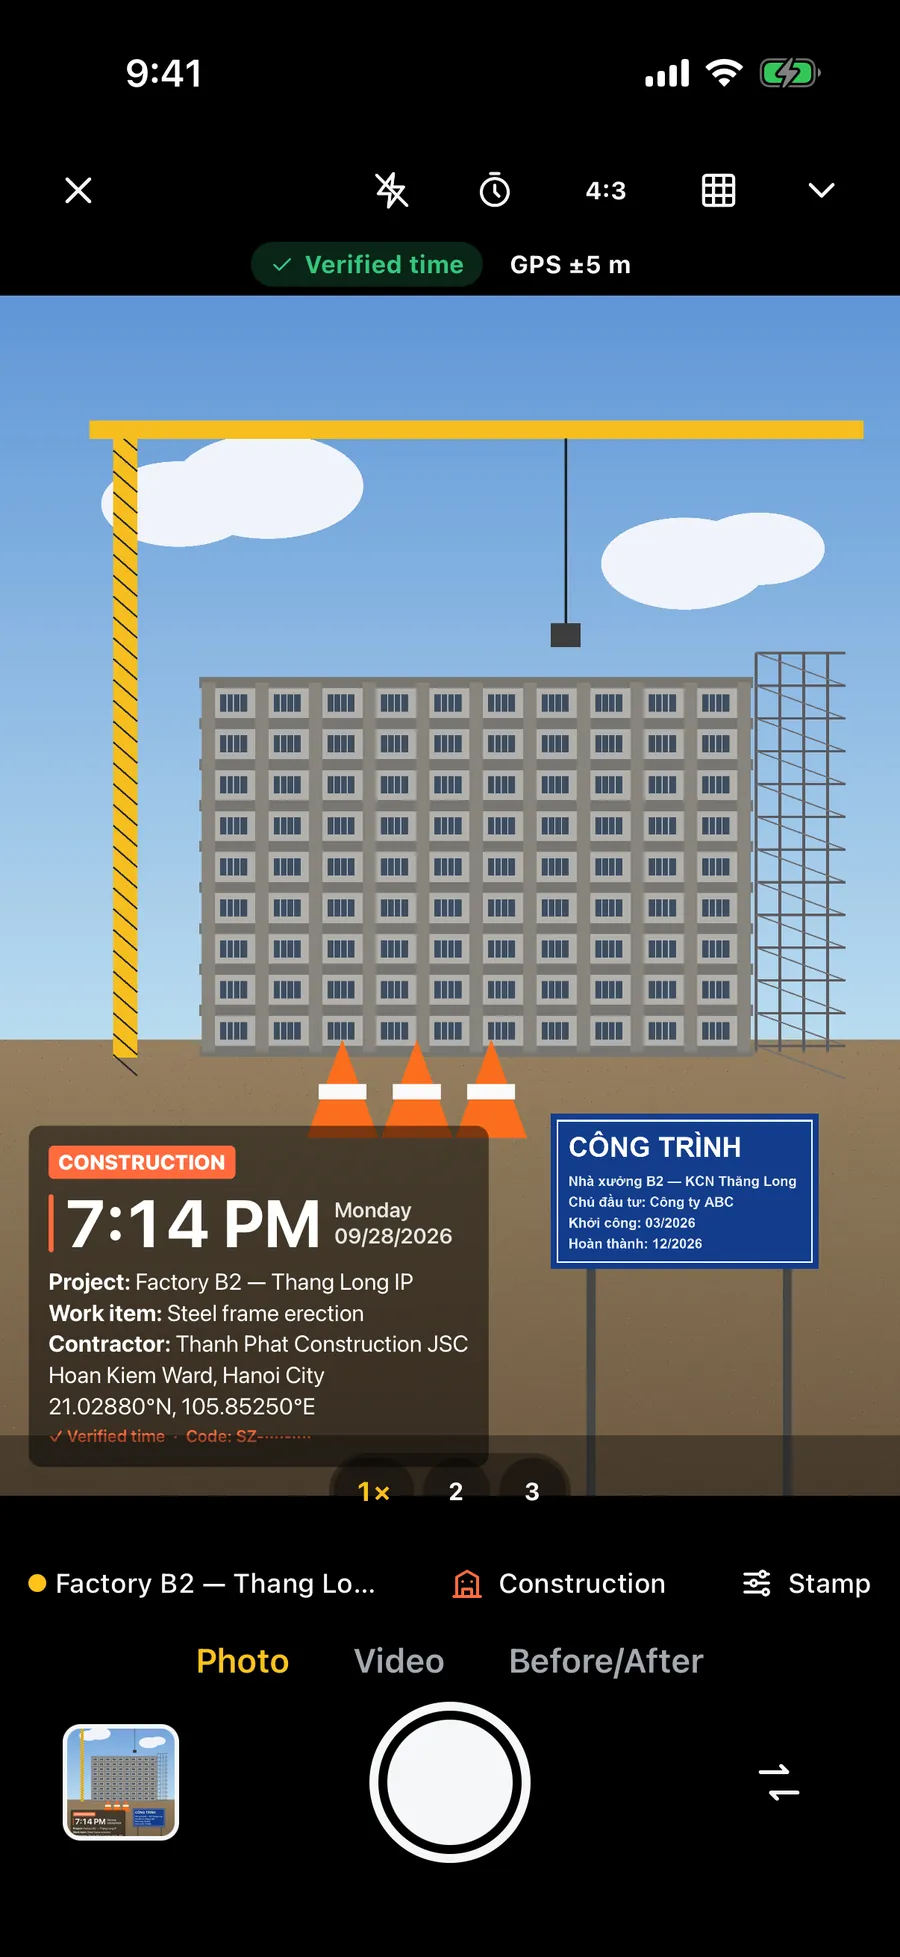
The iPhone Camera saves the date and time inside each photo, but a chat app, an email client or a web form may strip it. Check that your phone's date and time are set automatically. A date printed on the image itself stays visible wherever it goes.
Frequently asked questions
- When should I photograph pipes and wiring in a renovation?
- After the pipes, cables and waterproofing are in place and before insulation, plaster, drywall or tiles cover them. Ask the contractor to tell you the day before the wall is closed.
- How do I find where the pipes run behind a wall?
- If you photographed the open wall, match the photo to the finished wall using a fixed landmark and a measurement. If not, a qualified person with a detector can help; do not drill on a guess.
- Do photos replace an inspection?
- No. They show what was visible on the day, not that the work is sound or meets local rules. Check whether an inspection is required before the wall is closed.
- Should I film the wall instead of taking photos?
- Either works. A slow video along the wall shows the whole run, while stills are easier to search and label. Many people take both.