Convert HEIC to JPG on iPhone: three built-in ways, no app needed
Updated · 3 min read
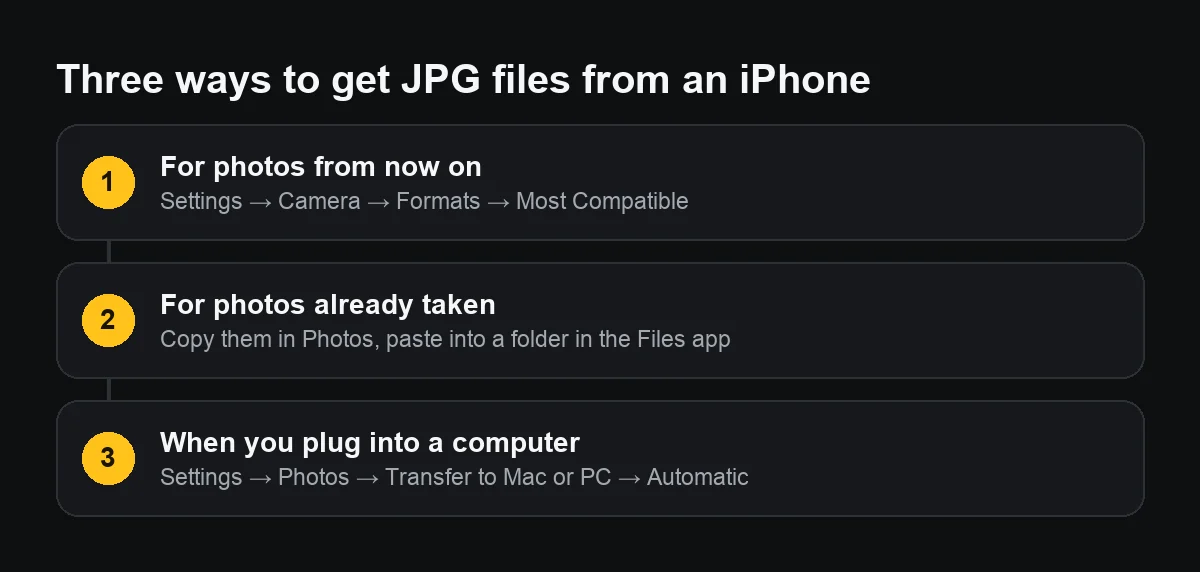
There are three built-in ways: set Settings → Camera → Formats to Most Compatible so new photos are JPG; copy photos you already took and paste them into the Files app to get JPG copies; and set Settings → Photos → Transfer to Mac or PC to Automatic so photos become JPG when you copy them to a computer by cable. No converter app, and no uploading your photos to an unknown website.
Before switching, it is worth knowing what HEIC does well, so you can decide whether you really need to drop it.
What is HEIC, and why does the iPhone use it?
HEIC is the iPhone's default photo format. For the same picture, a HEIC file is often about half the size of a JPG with practically the same sharpness, so the phone and iCloud fill up more slowly. On recent iPhones, iPads and Macs you hardly notice you are using it.
When does HEIC get in the way?
- Some Windows computers lack a HEIC decoder, so they cannot open the files or show thumbnails.
- Online forms that accept only .jpg or .png.
- Older software, photo printers and digital frames that cannot read HEIC.
- Sending attachments to people on other platforms.
When you send photos by Mail or through many messaging apps, the iPhone often converts them to JPG by itself, so you do not always need to do anything. The trouble usually shows up when you send original files, copy them by cable or upload from the Files app.
Way 1: shoot JPG from now on
Open Settings → Camera → Formats and choose Most Compatible. Photos from now on are JPG and videos H.264. In exchange, each photo takes more space. Photos you took earlier stay HEIC.
Way 2: convert photos you already took with the Files app
- In Photos, select the photos, tap Share, then Copy (or Copy Photos).
- Open Files, go to a folder on the iPhone or in iCloud Drive, touch and hold an empty spot and choose Paste.
- The photos are pasted as JPG. From there you can attach them, upload them to a form or send them.
This keeps the originals in Photos and does not send your photos to any website. Menu names can vary slightly between iOS versions.
Way 3: convert automatically when copying to a computer
Open Settings → Photos, scroll to Transfer to Mac or PC and choose Automatic. When you connect a cable and copy photos to a computer, the iPhone converts them to a compatible format. Choose Keep Originals if your computer already reads HEIC.
Does converting lose the date, time or location?
The built-in ways above usually keep the date and time stored with the photo, but whether the location survives depends on how you share: from Photos, the Location switch under Options decides. Online converters may strip everything. If the recipient needs to see when and where a photo was taken, the surest way is to have that on the picture itself.
Should work photos be HEIC or JPG?
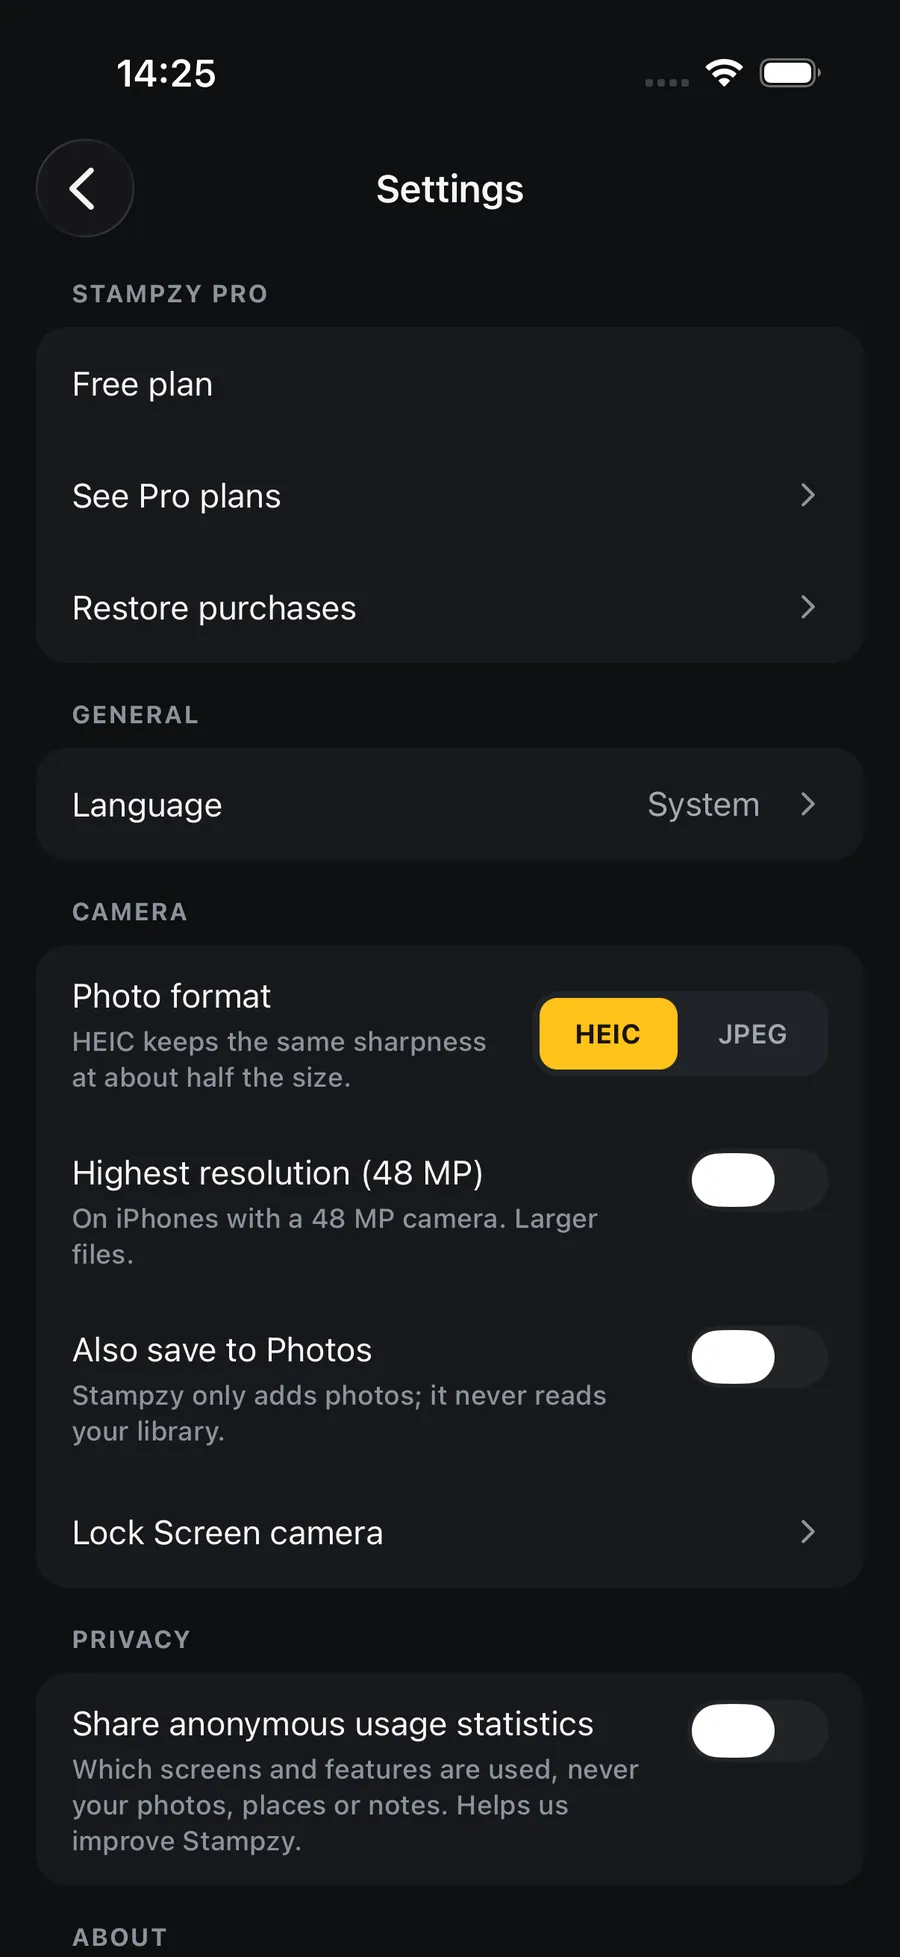
If your photos mostly live on the iPhone and iCloud and travel through chat apps, keep HEIC: the phone fills up more slowly and the photos stay sharp. If they regularly end up on office Windows computers, in management software, online forms or a printer, switching to JPG for good saves converting every time.
A middle way: keep the Camera on High Efficiency for personal photos and convert only the sets you have to submit, with Way 2 above. Whichever you choose, send one test photo to the recipient before sending a hundred.