Before and after photos for repair and installation technicians: a clean handover and a clear warranty
Updated · 4 min read
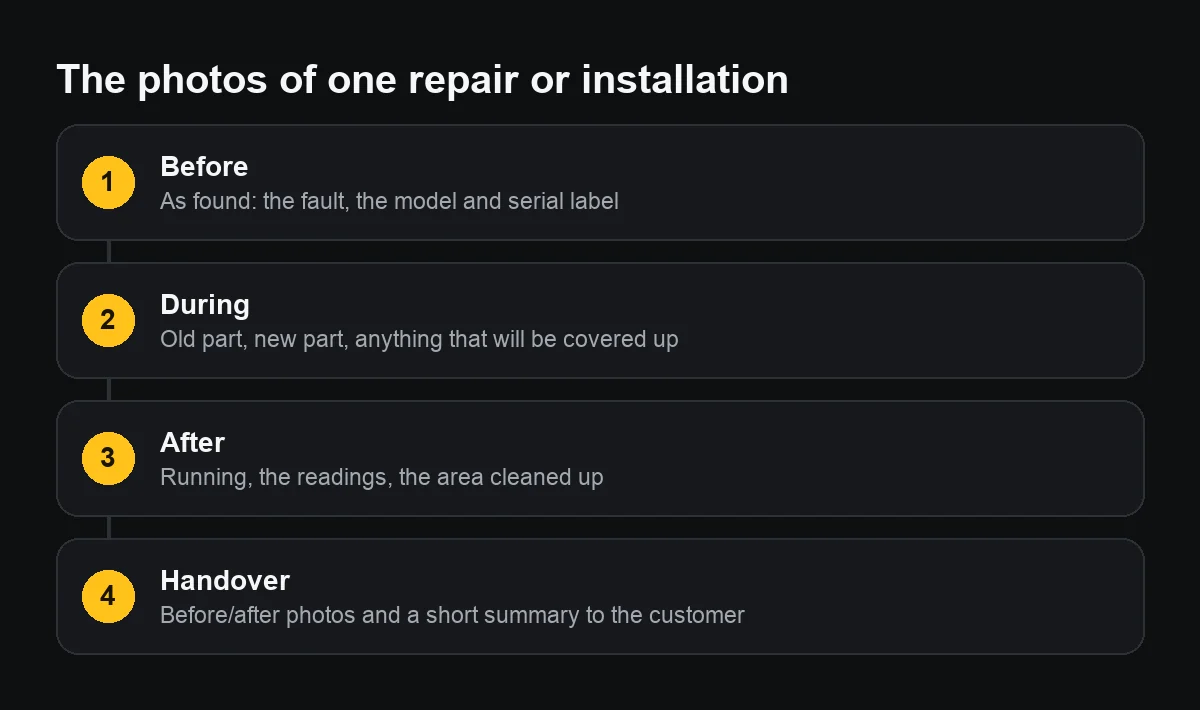
Every repair or installation should leave four sets of photos: the condition before you start with the model and serial label, old and new parts during the job, the unit running afterwards, and a handover message to the customer. Photos with the date, time and address help both of you remember exactly what was done, where and when.
This is for air-conditioning, plumbing and electrical technicians, CCTV and internet installers and appliance repairers, working alone or in a small team.
What should I photograph before starting?
Shoot before touching anything:
- The unit in place: the indoor unit on the wall, the switchboard, the video recorder.
- The rating label: brand, model, serial number, manufacture date. It is what customers and manufacturers ask for most.
- The visible fault: a leak, a burnt wire, a cracked cover, an error code on the display.
- Existing damage unrelated to your job: a stained wall, a cracked panel, a loose socket. Point it out to the customer before you start, so it is not later taken as your doing.
Which photos are worth keeping during the job?
- The old part next to the new one, with their codes visible.
- Anything about to be hidden: pipes in a wall, joints in a junction box, cable above a ceiling.
- Readings, if your trade has them: refrigerant pressure, voltage, network speed.
No need to photograph every screw. Photograph what will not be visible later, or what a customer might ask “did you really replace it?” about.
How do I shoot the after photos so they compare with the before?
Go back to the exact spot of the before photo: same angle, same distance. Two photos with the same framing side by side say more than any explanation. Add the unit running: the indicator light, the air temperature, the camera feed on the customer's phone, and the work area cleaned up.
To combine two photos without an app, place them side by side on a page in Pages or Keynote and export an image, or simply send them one after the other labelled “Before” and “After”.
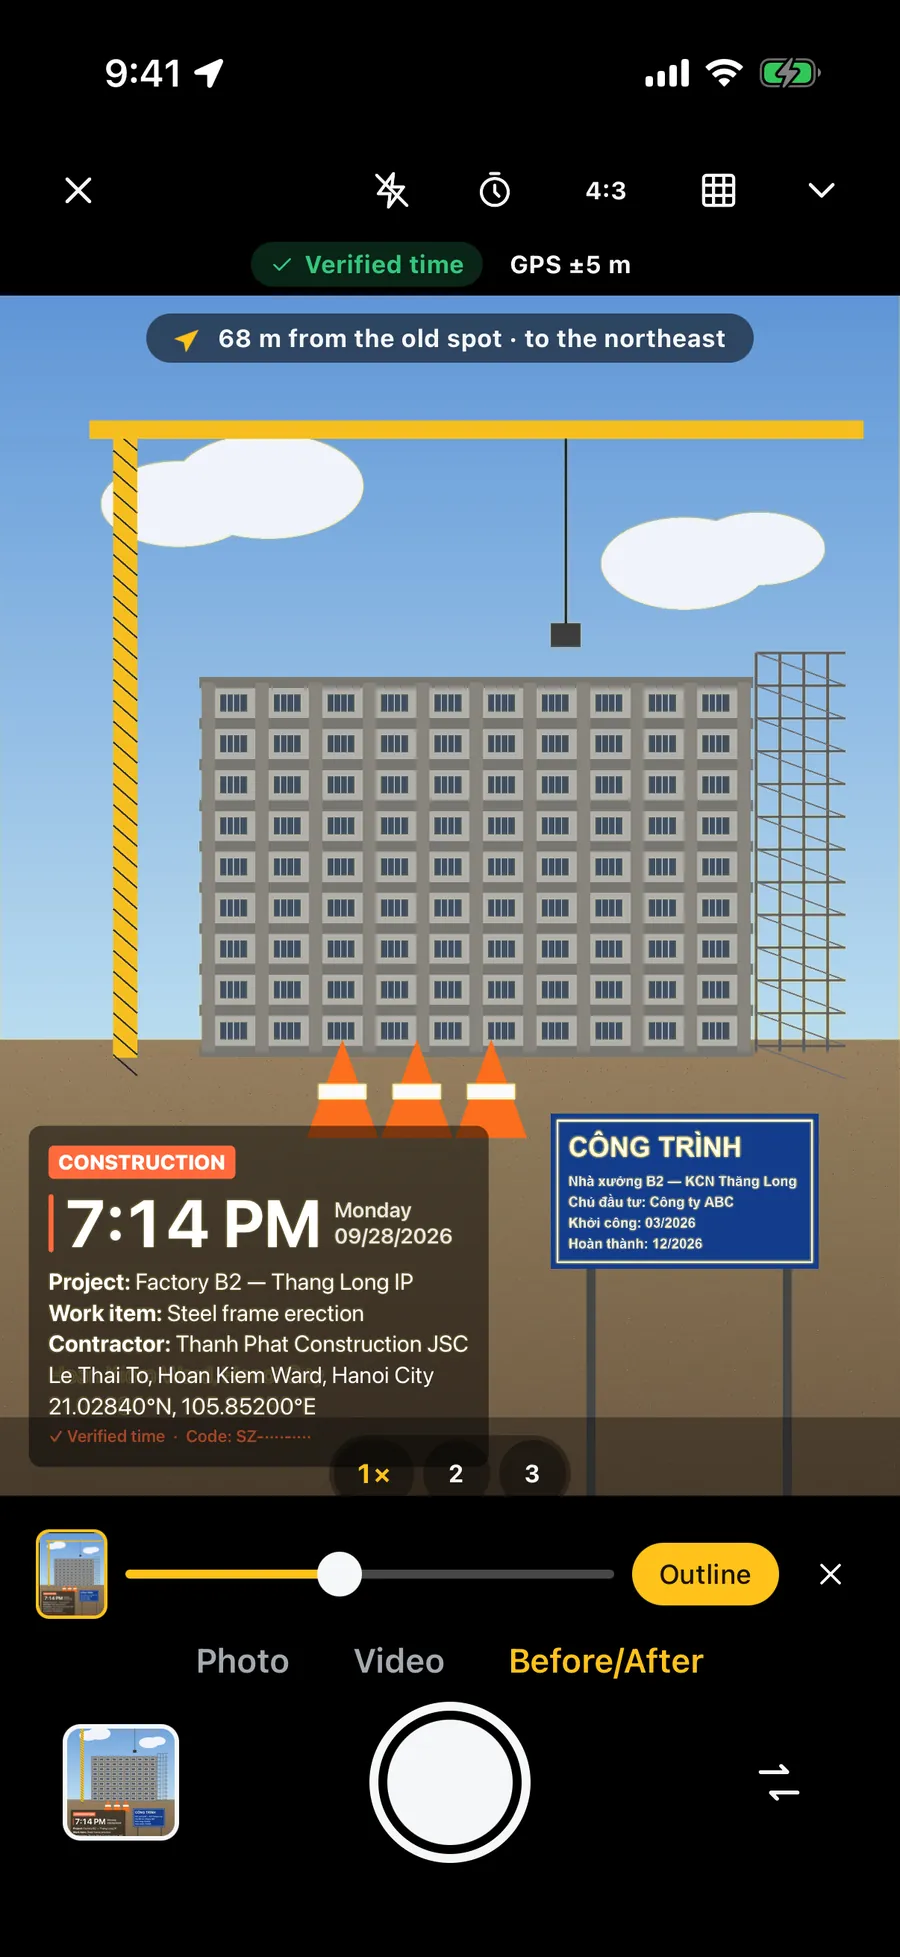
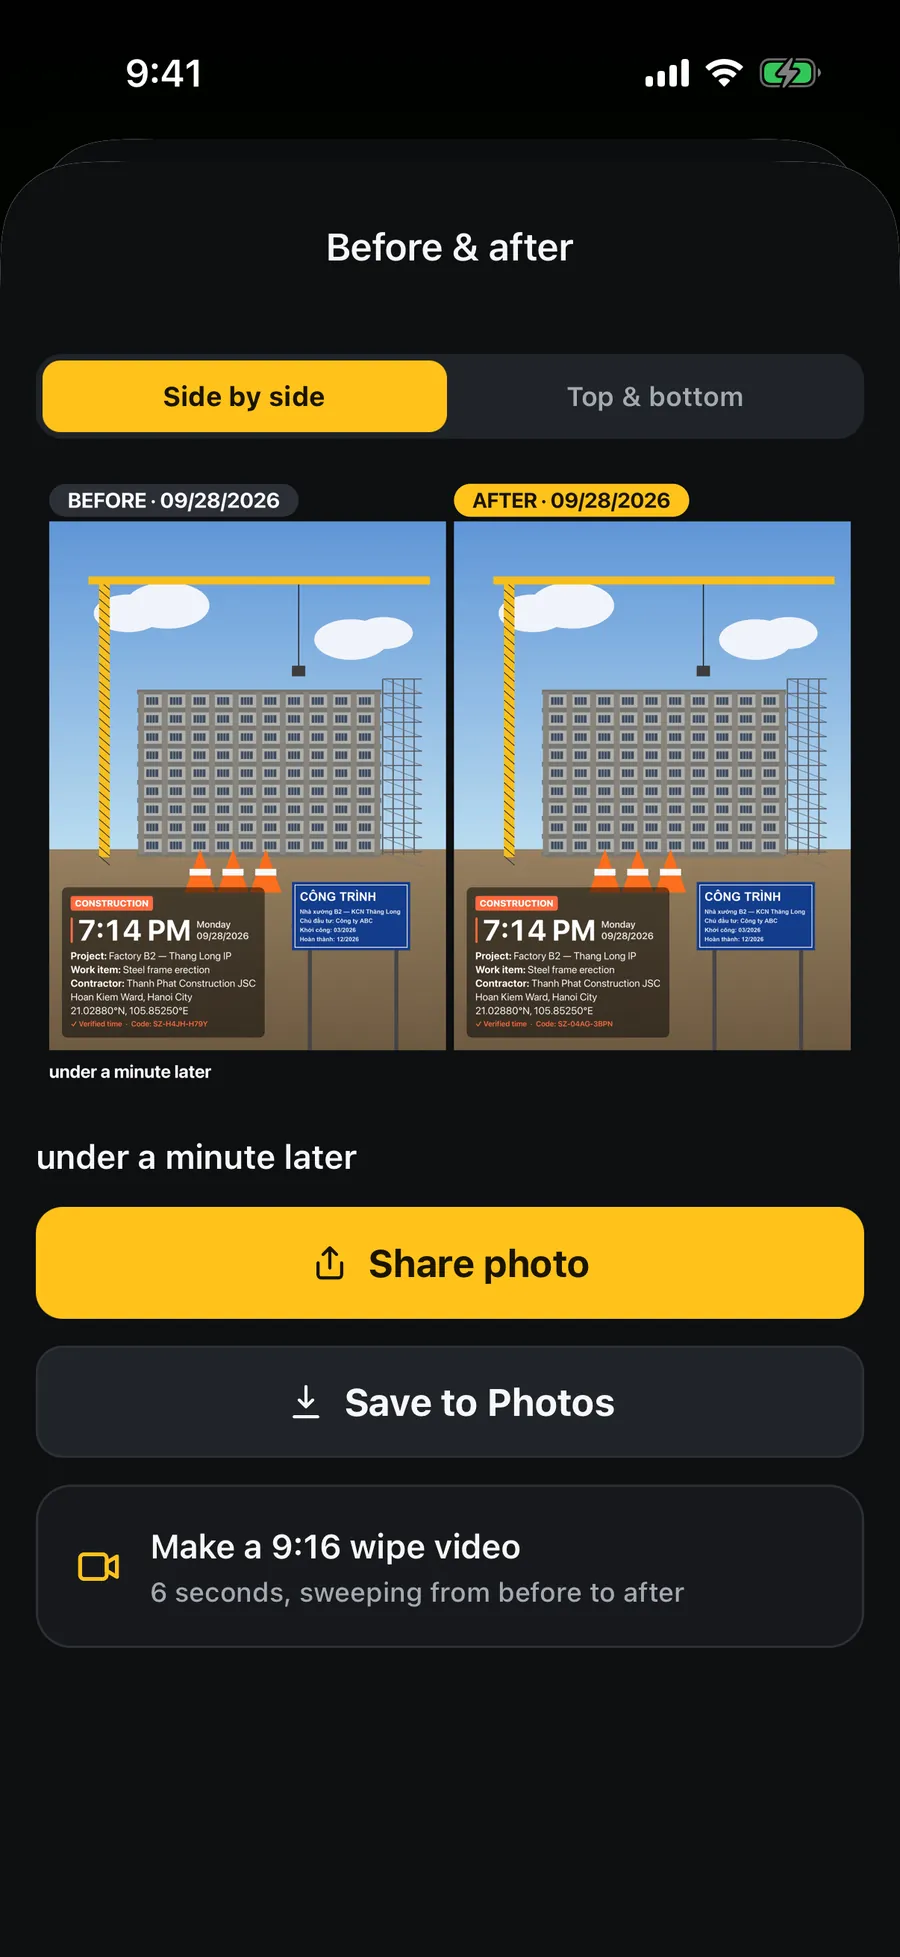
How do I hand the job over to the customer on a chat app?
One short message, always in the same shape:
- “28/09, 14:30 – bedroom air conditioner, flat 12A, Thao Dien ward.”
- “Fault: indoor unit leaking from a blocked drain. Cleared the drain, cleaned the tray.”
- “Parts replaced: none. Workmanship warranty: 3 months.”
Attach the before/after photos and the rating label. When you share photos from another app into Zalo the text is often dropped, so send the words as their own message. A paper warranty card or handover note, if you use one, is still what both sides sign.
How long should I keep the photos, and how do I find them on a warranty call?
Keep them at least as long as the warranty you gave, plus a margin. File them by customer or address, not mixed into your personal camera roll: one album per regular customer, or a folder per month in the Files app. When a customer calls back, search by name or address and open the before/after of that visit.
What should I respect when shooting in a customer's home?
You are in someone else's home. Photograph only the equipment and the work area; avoid people, family pictures and papers on the table. Tell the customer you will take photos and why. Do not post photos of a customer's home for advertising without their consent, and delete them once you no longer need them for the warranty.